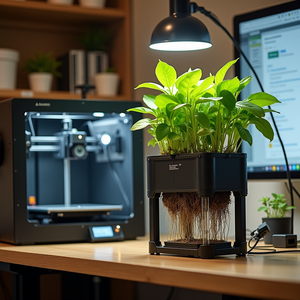
Most people assume you need injection‑molded parts to build clean hydro rigs. You don’t. A basic 3D printer can turn a few dollars of filament into tidy, light‑tight parts that make Kratky jars and simple jar‑based DWC work reliably for herbs and greens.
The Scenario
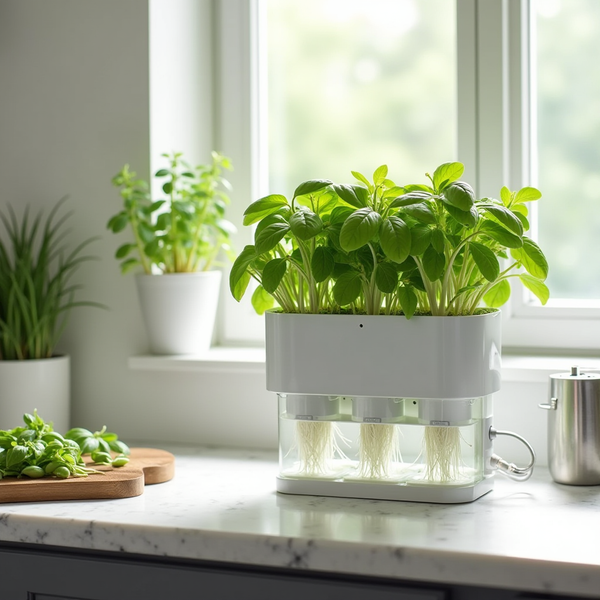
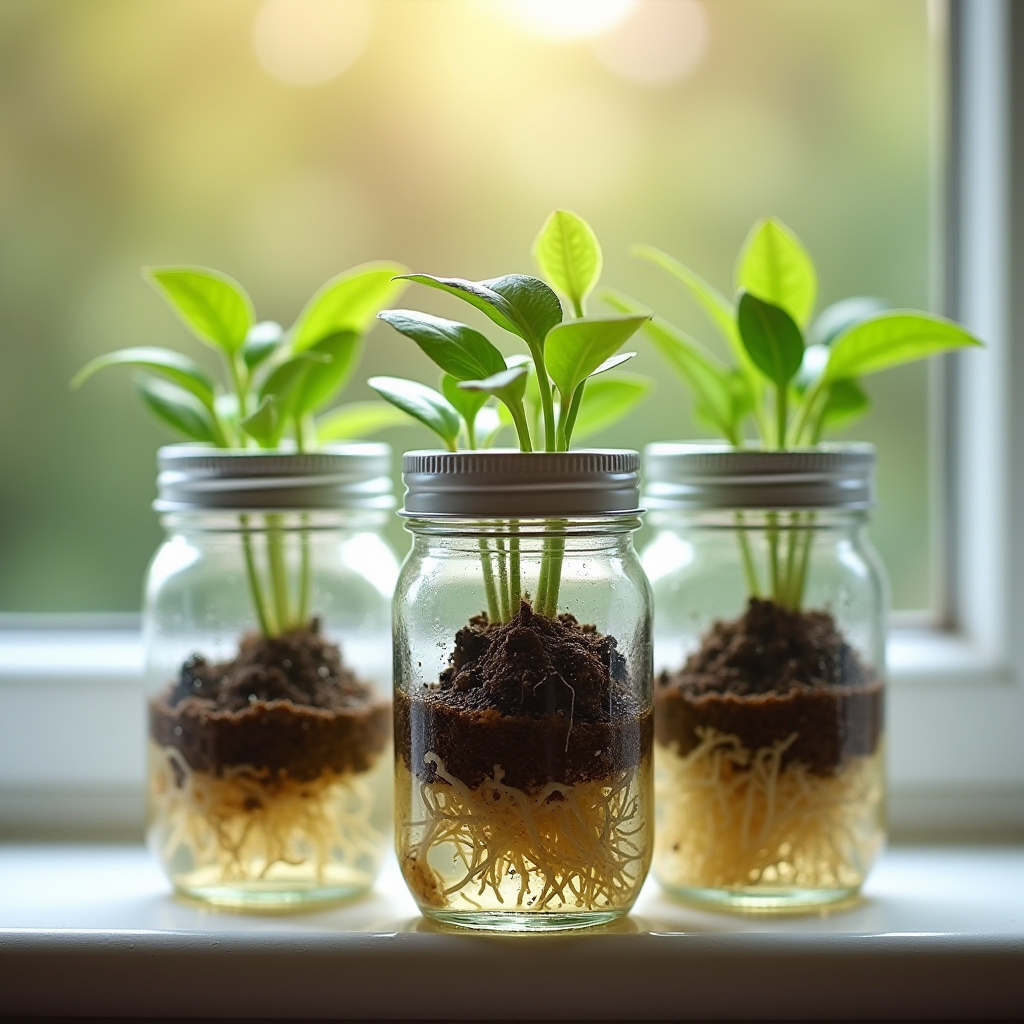
You want a simple, low‑cost way to start hydro indoors without buying a full kit. Mason jars are cheap reservoirs, and there are excellent community‑tested 3D models that snap them into shape. Start with a printable lid that holds a Rockwool cube or a small net cup, and add a light‑blocking cover to keep algae out. That combination gets you from seed to harvest with almost no moving parts.
For regular‑mouth jars, a clean option is the Mason Jar Kratky Hydroponic Lid designed to hold a 1.5 inch Rockwool cube on Printables (Mason Jar Kratky Hydroponic Lid). If you prefer 2 inch net pots and wide‑mouth jars, there are minimal, proven lids on Thingiverse like this 2 inch net‑pot cover (Kratky lid for 2 inch net‑pot Wide mouth Mason jar) and variants sized for other jars such as Gregory1000’s regular‑mouth Rockwool insert (Mason Jar Kratky Lid for Rockwool Insert). If you need a 2 inch net‑cup lid sized for wide‑mouth jars but prefer an alternate repository, this MakerWorld file is a good match (Wide mason jar Kratky Lid 2" net cup).
Light control is the difference between clean white roots and an algae bloom. You can print jar covers that shroud glass and block light, like binjamin222’s wide‑mouth Kratky covers sized for 32 oz jars on Thingiverse (Hydroponic Kratky Jar Covers), or add a slip‑on sleeve to darken the reservoir as shown in this opaque Kratky sleeve model (Kratky Mason Jar Hydroponics Sleeve). Print in black or another opaque color for best results.

The Breakdown
Printer and filament choices matter because these parts sit over warm water and nutrient salt. PLA is the easiest to print and works well indoors, but it softens in heat and can crack if stressed; PETG handles temperature and moisture better and is my pick for lids and sleeves. Print in opaque filament to block light. Most jar lids and sleeves in the projects above print flat with 0.2 mm layers, 3-4 perimeters, and 20-30% infill. Avoid supports where the model allows - the cleaner the inner surfaces, the less biofilm collects.
Fit depends on jar type. Regular‑mouth Mason jars are about 70 mm inner diameter; wide‑mouth are about 86 mm. Choose the model variant that matches your jars, and test‑fit dry before filling with nutrient solution. The 32 oz wide‑mouth covers listed earlier are sized for a 4 inch maximum diameter jar body, while models that hold 2 inch net cups expect a snug collar around the cup lip. For sleeves, tolerance stacking matters: if your printer runs tight, reduce wall count by one or scale X/Y down 1‑2% for a friction fit. The binjamin222 covers and the opaque sleeve model linked above demonstrate how a shroud or slip‑on print can eliminate light leaks without adhesives (Hydroponic Kratky Jar Covers, Kratky Mason Jar Hydroponics Sleeve).
If you plan to try a jar‑based DWC later, look for lids with integrated airline pass‑throughs. This Cults3D design includes stake holes and a 2 inch collar that works for both passive Kratky and small‑pump DWC conversions (Mason Jar DWC/Kratky - Quart). As always, rinse printed parts, then sanitize with a mild bleach solution or hydrogen peroxide before use to prevent early biofilm.
The Action Plan
Pick your jar and model. For regular‑mouth jars and 1.5 inch cubes, download the Printables lid mentioned earlier and print it in opaque PETG (Mason Jar Kratky Hydroponic Lid). For wide‑mouth with 2 inch net cups, grab the matching Thingiverse cover (Kratky lid for 2 inch net‑pot Wide mouth Mason jar) or the MakerWorld variant (Wide mason jar Kratky Lid 2" net cup). If you’re building a jar that can accept an air line later, save the Cults STL that includes the airline hole and 2 inch collar (Mason Jar DWC/Kratky - Quart).
Print, clean, and sterilize. Rinse the parts to remove dust, then soak briefly in a dilute sanitizing solution. Seat a Rockwool cube or grow sponge so the bottom just kisses the nutrient surface at the start. For leafy greens, mix nutrients to about 0.8‑1.2 mS/cm EC and pH 5.8‑6.2. Keep reservoir temperature around 18‑22 C and place jars under 12‑16 hours of light daily with mild airflow. In Kratky, the air gap forms as plants drink; do not top up to the collar unless you are converting to active aeration later.
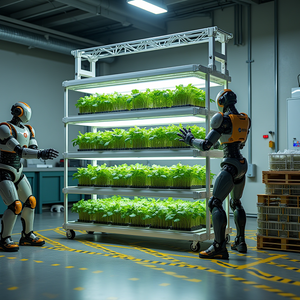
Scale when you’re ready. Mini hydro towers fed by a jar reservoir have printable jar lids with cord relief for micro pumps, shown in community designs cataloged on STLFinder for wide‑mouth lids used with small towers (Wide‑mouth Mason Jar Lid for Mini Hydroponic Tower). For larger plants or longer runs, swap to a lid with airline pass‑through and add gentle aeration as shown in the DWC/Kratky jar model above. Printed sleeves or covers from the earlier links keep the glass dark as you add more light for growth.

Benchmarks & Metrics
Use numbers to keep print projects on track. For basil and lettuce in jars, target pH 5.8‑6.2 and EC 0.8‑1.2 mS/cm through most of the run, with a mild bump up to 1.4 mS/cm if leaves pale late. If your water is hard, pre‑treat or dilute so you can control pH easily. Keep solution temperatures near 20 C to avoid root stress and lower the chance of slime. Light leaks show up as green film on jar walls; if you see it, extend sleeves or reprint in a darker filament.
Watch the parts as much as the plants. If a lid shows hairline cracks around the collar after a few harvests, reprint in PETG with an extra perimeter. If a sleeve loosens as humidity swings, scale X/Y down by 1% and reprint. For larger containers, bigger collars and thicker lids help distribute load; see the large‑format jar lid approach on Printables for inspiration (Large hydroponics kratky jar lid). If you convert a jar to active aeration, route airlines through printed passthroughs and keep the water line 1-2 cm below the net cup to preserve an air gap.
The upsides of printed parts are cost, customization, and fast iteration. The downsides are material limits and tolerance drift: PLA can soften near warm lights, some filaments can absorb odor, and rough inner surfaces can collect biofilm if you skip cleaning. Stay ahead of it by sanitizing between runs, swapping to PETG when needed, and favoring opaque, smooth prints for any surface near nutrient solution.

As an Amazon Associate, I earn from qualifying purchases.