Hydroponics Without Pods: Convert AeroGarden, Click & Grow, and Gardyn to Reusable Baskets, Media, and Nutrients
The real problem with pod-based smart gardens
"You have to use the official pods or it won't work." That line sells a lot of plastic and very little actual value.
Modern countertop systems like AeroGarden, Click & Grow, and Gardyn are solid pieces of hydroponic hardware: decent LEDs, workable reservoirs, and simple controls. The weak link is the proprietary pod ecosystem. Single-use plastic, expensive refills, and fixed media choices lock you into a cost structure that makes basil more expensive than buying it at the store.
The good news: these units are just small hydroponic systems with oddly shaped holes. Once you stop treating pods as sacred and start treating the machine as hardware, you can run them like any other DWC/NFT hybrid: reusable baskets, your choice of media, proper nutrients, dialed EC/pH, and a cleaning routine that keeps yields high and biofilm low.
This guide is your conversion playbook. We will not talk brand drama or Kratky jars. We are going to:
- Replace pods with reusable baskets or inserts that fit AeroGarden, Click & Grow, and Gardyn.
- Pick media that actually matches how these systems move water.
- Run a simple, crop-specific EC/pH and nutrient schedule for herbs and leafy greens.
- Set up a sanitation SOP so you are not fighting slime, root rot, and clogged emitters.
- Run the cost-per-harvest math so you know exactly what you are saving.
As noted in this guide, you can cut ongoing consumable costs by more than half just by switching to reusable media and generic nutrients. Let’s walk through the conversion by looking at the most common mistakes and how to fix them.
1. Common mistakes when ditching pods
Mistake 1: Treating the pod as a magic object instead of a simple net pot
Under the branding, a pod is just a plastic shell holding media and seed above circulating nutrient solution. Many growers overcomplicate the swap and chase custom 3D prints or one-brand-only inserts, then give up when the fit is not perfect.
The hardware does not care about logos. It cares about three realities:
- Does water reach the media reliably?
- Do roots have space and oxygen?
- Does light stay off the nutrient surface to prevent algae?
If your replacement basket checks those boxes, the machine will grow plants.
Mistake 2: Choosing media that fights the hydraulics of the unit
Pod systems are either low-flow recirculating DWC (AeroGarden, Gardyn) or passive wick/“smart soil” systems (Click & Grow). If you stuff them with the wrong media, you either drown roots or starve them.
- AeroGarden/Gardyn: Top-sprayed or flooded stem bases with roots hanging into a reservoir. They want airy media that drains fast, like rockwool cubes or loose coco plugs.
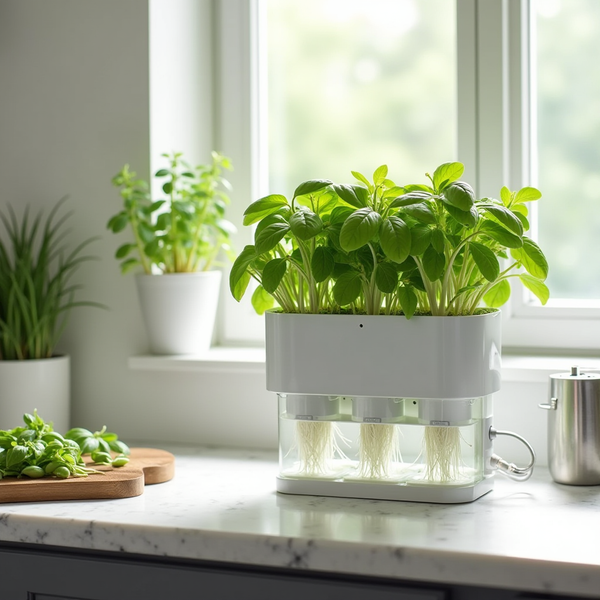
- Click & Grow: Capillary wick pulling solution up into a small volume of media. It wants media with predictable wicking, like peat/coco plugs or engineered grow sponges.
Random kitchen sponges, dense potting soil, or heavily compacted coco bricks choke these systems.
Mistake 3: Keeping the “mystery nutrient” mindset
Branded nutrients ship with a vague “2 capfuls per fill” style instruction. Once you go off-pod, that lack of numbers bites you. Growers mix generic nutrients by label only, never measure EC, and then blame the fertilizer when parsley stalls or lettuce tips burn.
A countertop system is still hydroponics. It responds to EC/pH just like a big DWC bucket. If you do not put numbers on your solution, you are guessing.
Mistake 4: Ignoring sanitation once pods are gone
Pods hide a lot of sins. The plastic collar blocks light and shields the root crown. Once you switch to open baskets, light leaks and splashing are more common. That means:
- Algae on the deck and in baskets.
- Biofilm in pumps and channels.
- Brown, suffocated roots even with “good” nutrients.
Without a simple cleaning SOP, most “DIY pod” failures are not about media at all; they are about sanitation.
Mistake 5: Not redoing the cost-per-harvest math
Many people convert “to save money” but never quantify it. They under-buy baskets, skip a pH meter, or cheap out on nutrients because they are guessing instead of running simple numbers. The result is a half-finished conversion that feels unreliable compared to dropping in pods.
The reality, as several DIY AeroGarden users report in community breakdowns and in this pod-free cost analysis, is that reusable media and bulk nutrients routinely cut consumable costs by 50 to 70 percent per harvest when the system is set up correctly.

2. Why these mistakes happen (and what your system is really doing)
Your AeroGarden, Click & Grow, and Gardyn are just variants of DWC/NFT
Once you strip away the pod marketing, the hydraulics are simple:
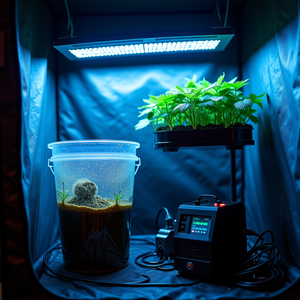
- AeroGarden: Low-profile DWC. A pump lifts solution to a distribution deck, wets the pod bases, and drains back. Roots eventually hang into the reservoir. It behaves like a small DWC with top-feed.
- Gardyn: Vertical recirculating grow tower. Water drips down from above over columns of media baskets. Functionally similar to an enclosed NFT/vertical DWC hybrid.
- Click & Grow: Passive wick system. No pump; a wick pulls nutrient solution into a small media cartridge, much closer to Kratky with capillary assist.
These are all hydroponic or semi-hydro systems. The plants do not know or care what logo is on the pod, only that they have oxygen, nutrients, and a stable root environment.
Pods solve three real problems (that you now have to solve yourself)
Pods are not magic, but they are convenient because they quietly handle:
- Fit and sealing: They block light from hitting the reservoir and position the seed at the right height.
- Media choice: They use a media that matches the system’s water delivery; for example, AeroGarden uses open-structure sponges, Click & Grow uses peat-based "smart soil".
- Beginner-proof nutrients: Most units ship with a simple nutrient bottle and vague but safe dosing that usually lands in a mild EC range.
Once you remove pods, all three jobs are yours. If you ignore any of them, you get the classic DIY failures: algae, poor germination, nutrient burn, or plants that stay tiny under a good light.
What the research and community experience tell us
Across AeroGarden user forums and DIY guides, including breakdowns from sources like World of Garden Plants and several comparative tests cited in this sponge alternative overview, a few consistent points show up:
- Rockwool or coco-based plugs in reusable baskets perform as well or better than OEM media once EC/pH are dialed in.
- DIY pod users report 50 to 70 percent lower consumable costs vs pre-seeded pods over multiple cycles, as echoed in community cost threads like this AeroGarden Addicts discussion.
- Most failures trace back to sanitation and poor nutrient management, not to the reusable baskets themselves.
In other words: the hardware is capable. You just need a clean, quantified operating procedure.
3. How to fix them: practical conversion steps by system
Step 1: Choose reusable baskets and adapters
AeroGarden
- Goal: Replace pods with reusable net cups or third-party hard plastic "blank" pods.
- Best fit options:
- Third-party AeroGarden-compatible empty pod shells with open bottoms.
- Standard 1-inch to 1.5-inch net cups snapped or friction-fit into the deck openings. Some models need a simple ring or printed adapter; others accept 1-inch cups directly.
- What matters: Basket sits flush, blocks light, and allows roots to hang freely into the reservoir.
Click & Grow
- Goal: Refill the existing plastic cartridges or use compatible refillable shells.
- Approach:
- Save empty pods, dump the old media, rinse, and refill with fresh plugs.
- Or buy third-party "empty" Click & Grow style cups built to accept loose media.
- Critical detail: Do not block the wick or bottom openings. If the wick cannot pull solution up, the plant will sit in a dry plug and stall.
Gardyn
- Goal: Use reusable baskets in the tower slots with open, fast-draining media.
- Approach:
- Third-party Gardyn-compatible cups or generic net pots sized to the column openings.
- Main constraint is physical compatibility and maintaining the original water flow path.
- Watch for: Any gap that lets light into the wet column encourages algae and biofilm. Use collars or tape to cover exposed edges.
Step 2: Pick media that matches your system
Media options
For all three systems, focus on these media types:
- Rockwool cubes (1 inch): Very consistent, high porosity, strong wicking. Excellent for AeroGarden and Gardyn. Pre-soak in pH 5.5 water for 20 to 30 minutes before use, as recommended in many hydroponic guides such as this DIY AeroGarden pod tutorial.
- Coco or peat plugs: Good for Click & Grow refill pods and AeroGarden where you want a more "soil-like" feel. Look for clean, buffered coco or peat-based plugs marketed for hydroponics or seed starting.
- Engineered sponges/felt pads: Products like felt grow pads or foam inserts cut to fit pods or baskets. These excel in wick systems but need a clean cut and good fit to avoid bypassing water.
Pairing media to system
- AeroGarden: Rockwool cubes in reusable baskets are hard to beat. They handle continuous moisture well and allow strong root penetration. Coco plugs also work if they are not packed tight.
- Click & Grow: Peat or coco plugs closely mimic the original "smart soil" and work well with the wick. Many growers refill with peat/coco mixes and achieve identical performance, as summarized in pod-refill case studies in this alternatives article.
- Gardyn: Rockwool or coarse coco/perlite mixes in baskets allow water to flow through while keeping the root zone airy.
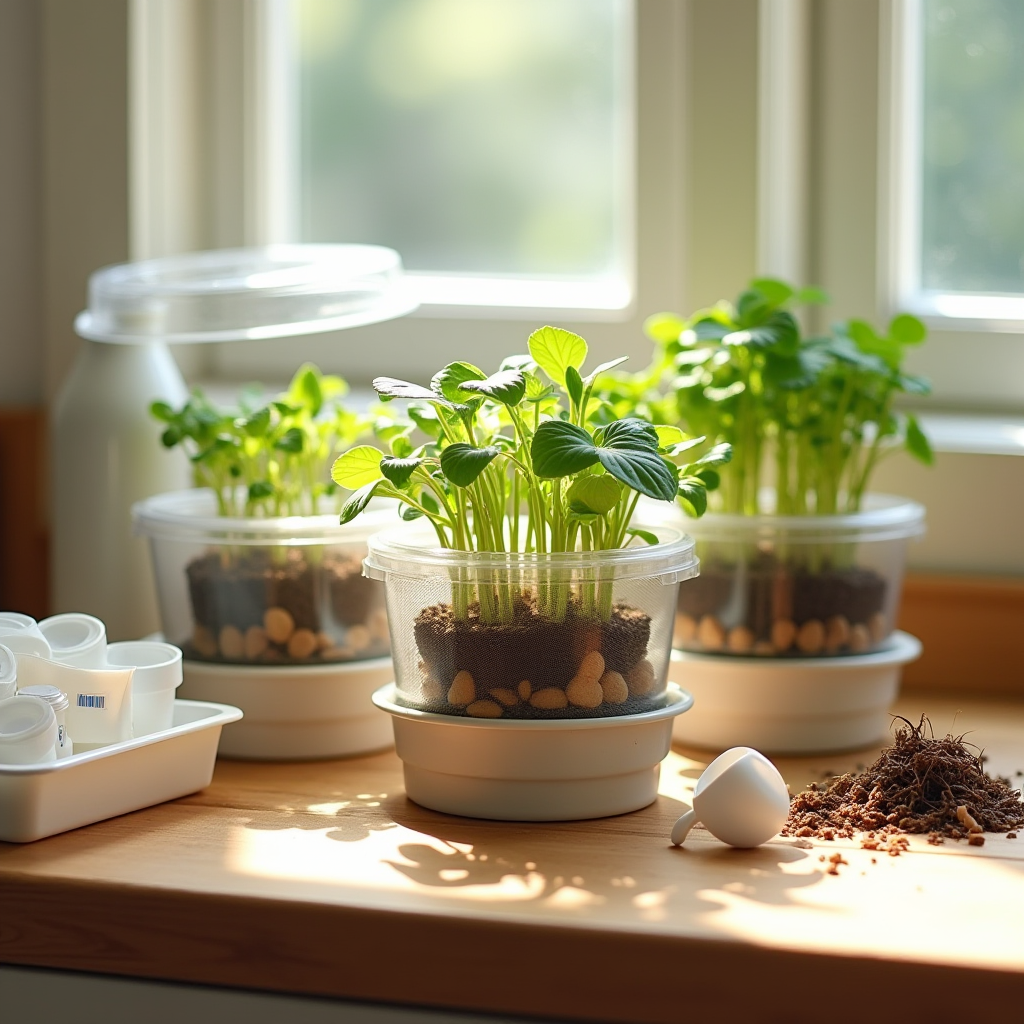
Seeding and transplant basics
- Pre-soak media in pH-adjusted water (5.5 to 6.0) with a very light nutrient solution (EC ~0.4 to 0.6 mS/cm) for 15 to 30 minutes.
- For herbs like basil and parsley, sow 2 to 4 seeds per plug. For lettuce, 1 to 2 seeds per plug is enough.
- Keep humidity higher for the first 3 to 5 days by using the system’s dome or a loose plastic cover until the first true leaves appear.

Step 3: Switch to a real nutrient schedule (with EC and pH targets)
Core tools
- Digital EC/TDS meter (any basic model is fine).
- Digital pH meter or decent pH test drops.
- Hydroponic nutrient formulated for leafy greens or general purpose.
- pH up/down solutions.
Target EC/pH for common countertop crops
These ranges apply to AeroGarden, Click & Grow (when run hydroponically), and Gardyn. They assume decent water (low to moderate hardness):
- Basil, mint, most herbs: EC 1.2 to 1.8 mS/cm, pH 5.8 to 6.2.
- Lettuce and leafy greens: EC 0.9 to 1.4 mS/cm, pH 5.8 to 6.3.
- Compact fruiting plants (dwarfed peppers, cherry tomatoes): EC 2.0 to 2.5 mS/cm, pH 5.8 to 6.3.
Do not push EC on small units. They have tiny reservoirs, so concentration can spike quickly as water evaporates.
Simple nutrient routine for pod-free systems
- Initial fill: Mix nutrient solution using reverse osmosis or tap water. Follow the bottle, then confirm with EC. Adjust with more water or nutrient until you hit the target range above.
- Top-offs: Every 2 to 4 days, top off with plain water to your target fill line. Check EC and pH.
- If EC has climbed more than 0.3 to 0.4 above your target, the plants are drinking more water than nutrients. Add plain water until it drops back into range.
- If EC has dropped by more than 0.3, plants are taking up nutrients fast. Add a small dose of nutrient solution instead of straight water.
- Full change: Every 10 to 14 days, drain the reservoir, rinse, and refill with fresh solution. This is your main control against nutrient imbalances and biofilm.
Many growers in the AeroGarden DIY community who switch to EC-based dosing report stronger, faster growth than with stock "capful per fill" instructions, as echoed in user experiences aggregated in this discussion.
Light schedule and intensity
- Herbs and leafy greens: 14 to 18 hours of light per day on built-in timers.
- Fruiting plants: 14 to 16 hours is usually enough.
Most countertop units are underpowered before they are overpowered. If plants stretch, pale, or lean toward the light, raise EC slightly within the safe range and ensure your timer is set to at least 16 hours for greens.
Step 4: Build a sanitation SOP that prevents slime and root rot
Once pods are gone, you do not have factory-fresh plastic shielding your root zone each cycle. You need a consistent cleaning routine.
Between crops (deep clean)
- Unplug the unit and remove all baskets, media, and roots.
- Drain the reservoir completely.
- Wash plastic parts (deck, reservoir, baskets) with warm water and a few drops of dish soap. Use a soft brush on corners and channels.
- Rinse well, then soak in a mild sanitizing solution:
- 1 to 2 teaspoons of household bleach per liter of water, 10 to 20 minutes, or
- Food-safe hydrogen peroxide solution at 3 percent for 10 to 20 minutes.
- Rinse thoroughly and let parts air-dry.
During runs (light maintenance)
- Wipe the deck weekly with a cloth dipped in dilute peroxide or mild bleach solution, avoiding the roots.
- Check pump inlets and channels for slime or debris every nutrient change. Rinse if needed.
- Keep light off the reservoir: ensure baskets or collars cover holes, and use tape or foam around awkward gaps.
This is the difference between a system that runs clean for months and one that chokes after a couple of harvests.

4. What to watch long-term: yields, costs, and benchmarks
Cost-per-harvest: pods vs reusable setup
Baseline example: 6-pod AeroGarden with herbs
Numbers will vary, but this is a realistic, conservative comparison based on current pod pricing and generic nutrient costs, consistent with the ranges discussed in this pod-free cost breakdown:
Using branded pre-seeded pods
- Seed pod kit (6 pods): $20 to $30 per cycle.
- Branded nutrient for one full cycle: roughly $3 to $5 worth of solution.
- Total consumables per 8 to 10 week cycle: about $23 to $35.
Using reusable baskets + rockwool + bulk nutrients
- Reusable basket set (6 to 12 baskets): $10 to $15 one-time cost, reused for many cycles.
- Rockwool cubes: about $0.15 to $0.25 each; 6 cubes = roughly $1.50.
- Seeds: even good herb seed runs well under $0.05 per site per cycle when bought in packets; call it $0.30 total.
- Bulk hydroponic nutrient: around $0.50 to $1.50 worth of solution per cycle for a small reservoir.
- Total per cycle after initial baskets: roughly $2.30 to $3.30.
Even if we double the estimate to account for waste and extra solution, you are still looking at $4 to $6 per cycle versus $23 to $35. Over 4 cycles a year, the difference is roughly $80 to $120 in your pocket per system, which aligns with community reports that DIY pod refills cut consumable spend by more than half.
Yield benchmarks: what “good” looks like
AeroGarden (herbs and greens)
- Healthy basil plants should be ready for the first real harvest 3 to 4 weeks after germination.
- By week 6 to 8, you should be able to harvest a handful of leaves from each plant every few days.
- Lettuce should reach dense, harvestable heads or cut-and-come-again size in 4 to 6 weeks.
Click & Grow (refilled pods)
- Germination within 5 to 10 days for most herbs, assuming fresh seed and good hydration.
- Regular harvests of basil or mint from week 4 onward.
- If plants stay stunted beyond week 4, check wick contact, EC, and light duration.
Gardyn (vertical greens and herbs)
- Greens like lettuce and kale should fill their columns in 4 to 6 weeks with a well-managed nutrient profile.
- You should be able to harvest multiple leaves per plant, per week, once established.
- Roots should be white or cream-colored, not brown and slimy.
Long-term maintenance calendar
- Every 2 to 4 days: Top off water, check EC and pH, inspect roots through a basket or access panel.
- Every 10 to 14 days: Full reservoir change, quick pump inspection.
- Every crop cycle: Deep clean and sanitize reservoir, deck, and baskets.
- Every 6 to 12 months: Replace tubing (if present), pull pump for full cleaning, check for cracks or mineral buildup.
When to go back and adjust your conversion
Even with a solid plan, you will need to tweak.
- If roots are always brown/slimy: Improve sanitation, increase reservoir changes, and ensure you are not overfeeding. Consider adding an air stone in AeroGarden/Gardyn reservoirs.
- If plants are pale but not burning: EC is probably low or light hours are short. Increase nutrient strength slightly or extend the photoperiod.
- If tips burn on new growth: EC is too high for the reservoir size and crop. Dilute with plain water and keep within the target range.
- If algae keeps returning: Seal light leaks with collars, tape, or covers around baskets.
Once you have a cycle or two under your belt with reusable baskets and real nutrient management, pods start to feel like training wheels you no longer need. Your cost per harvest drops, your yields become more predictable, and your countertop unit finally behaves like the hydroponic system it actually is.
As an Amazon Associate, I earn from qualifying purchases.