Stop Burning Leaves: Hydrogen Peroxide Foliar Sprays in Indoor Farms—Safer Powdery Mildew Control That Won’t Kill Yields (2026 Guide)
The myth: “If it fizzes, it’s fixing the problem”
Hydrogen peroxide foliar sprays look like they are working. You see fizzing on the leaf, a bit of whitening on the mildew, and you assume the job is done. The problem is that the same indiscriminate oxidation that shreds fungal cells also hits plant tissue. As LifeSciencesWorld explains, hydrogen peroxide does not magically “know” what is pathogen and what is plant. Under modern LED canopies running 600–900+ μmol/m²/s, that extra oxidative load is one of the fastest ways to cook leaves and quietly shave yield.
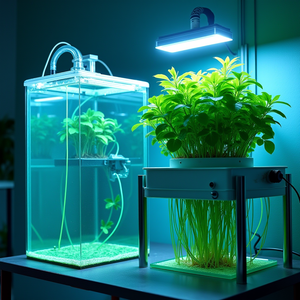
This guide is about getting powdery mildew under control in indoor hydroponic farms without sacrificing canopy health. We will separate where oxidizers belong (room and surface sanitation, pre-crop fogging) from where they cause more harm than good (routine on-plant sprays), and then lay out safer foliar options and light-management practices that actually fit a 2026 LED environment.
1. Common mistakes with hydrogen peroxide foliar sprays
Mistake 1: Treating hydrogen peroxide as a harmless “natural” foliar
Hydrogen peroxide (H₂O₂) is often sold as a clean, residue-free solution: it breaks down into water and oxygen, so many growers assume they can spray it hard and often. The core problem is the mode of action. H₂O₂ works by generating reactive oxygen species that oxidize cell components. That is exactly why it damages plant cells as well when you use enough to impact disease.
On leaves, that shows up as:
- Bleached patches or speckling that start pale and turn tan or brown
- Thin-leaf crops (basil, lettuce, young greens) collapsing 24–48 hours after a “strong” spray
- Slow, dull regrowth after repeated “preventive” spraying
Mistake 2: Spraying under full LED intensity
Modern fixtures routinely drive 600–900+ μmol/m²/s in the main canopy for flowering and high-density leafy production, as summarized in this PPFD overview. That is excellent for photosynthesis, but it means leaves are already right up against their oxidative tolerance. When you coat those leaves with an oxidizer, then hit them with high PPFD immediately afterward, you stack stress:
- Peroxide weakens cell membranes and cuticle.
- High light ramps up internal reactive oxygen species inside chloroplasts.
- The combination overwhelms plant antioxidant systems and causes scorch.
Result: you “treat” a mild powdery mildew patch and wake up to a canopy of crisp, light-burned leaves that never fully recover.
Mistake 3: Using sanitation-strength oxidizers as foliar sprays
Many indoor farms stock strong oxidizers for room and line sanitation: concentrated H₂O₂, peracetic acid blends, or products labeled for hard-surface and irrigation system disinfection. These are designed to hit spores, biofilms, and organic load on inert surfaces, not living leaf tissue.
Common errors include:
- Taking a peracetic acid (PAA) product labeled for fogging empty rooms and using it as a direct foliar on a crop at anything close to sanitation rates
- Using 3% pharmacy peroxide nearly straight (or only 1:1 diluted) as a foliar drench
- Mixing oxidizers with wetting agents or oils in the same tank, which increases penetration into tissues
All of these push well into phytotoxic territory.
Mistake 4: Confusing “slowed mildew today” with “healthy system”
Oxidizers can visually knock back powdery mildew. Mycelium looks fried, spores collapse, and for a few days the infection looks lighter. But if your environment is still over-humid, airflow is poor, and plants are stressed, the pathogen pressure has not changed. You have just made the host weaker.
What often follows is a cycle of:
- Spray hard with peroxide → scorch and stress
- Plant vigor drops → canopy gets denser and more stagnant air
- Mildew returns on the same or weaker tissue
- Spray again, often at higher rates
2. Why these peroxide mistakes keep happening in LED indoor farms
Reason 1: Legacy habits from HPS and outdoor growing
Under older HPS fixtures or outdoor sunlight with lower controlled PPFD, growers often ran lower average light intensities on foliage and had more thermal-driven air movement. Hydrogen peroxide damage was still possible, but many escaped with “only” some cosmetic spotting at modest rates.
In current indoor farms, LEDs deliver very targeted, dense PPFD. Canopies are packed to maximize grams per square meter. That means fewer safety margins:
- Leaves run closer to their maximum usable light level
- Microclimates under fixtures can diverge sharply from room averages
- Any extra oxidative hit (like a peroxide spray) has less room before tipping into damage
Reason 2: Confusion between reservoir sanitation and foliar disease control
Many hydroponic SOPs correctly use oxidizers in the root zone or system plumbing. For example, low-dose H₂O₂ or PAA to keep lines cleaner between runs, or strong doses in an empty system for disinfection. That has nothing to do with foliar disease control strategies under LEDs, but the products look the same on the shelf.
This is how bad habits start:
- A root-zone biofilm treatment gets mentally repurposed as a leaf treatment.
- Sanitation rate dilutions are applied to living plants instead of empty systems.
- Reservoir-safe rates are presumed to be leaf-safe (they are not).
Reservoir oxidation and foliar disease management are separate toolboxes. Mixing them is what burns crops.
Reason 3: Underestimating how PPFD and humidity interact with foliar sprays
Powdery mildew loves the exact microclimate that many indoor farms accidentally create: high plant density, warm nutrient solution, and humid air in the canopy with minimal airflow. When RH spikes in winter or dark periods, many growers reach for quick chemical fixes instead of reshaping the environment.
Under a 600–900 μmol/m²/s LED canopy:
- Wet leaves plus high PPFD create a lensing and burn risk, even with non-oxidizing sprays.
- Wet leaves plus oxidizers and high light make phototoxicity far more likely.
- High humidity slows drying, so peroxide sits on the leaf longer, causing more tissue injury.
Reason 4: Lack of a clear, written foliar SOP
Many facilities have detailed nutrient mixing SOPs but vague foliar plans. Staff know they must “spray when you see mildew,” but not how to:
- Rate and dilute different products
- Adjust light and airflow before and after treatment
- Sequence sanitizers, biofungicides, and bicarbonates without killing the biologicals
Without a written sequence, people improvise. In a high-PPFD environment, improvisation usually equals damage.

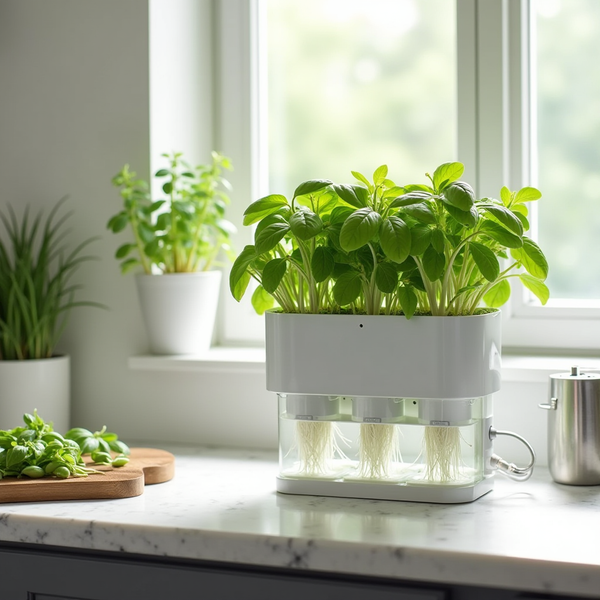
3. How to fix your foliar disease control plan under LED canopies
Step 1: Put hydrogen peroxide and peracetic acid in the right place
Stop thinking of H₂O₂ and PAA as day-to-day foliar products. They are best in two roles:
- Empty-room and system sanitation
- Drain and physically clean NFT channels, DWC reservoirs, gutters, and benches.
- Circulate label-rate PAA or other oxidizer through lines, then flush thoroughly with clean water.
- Fog or mist empty rooms with a PAA product formulated for air and surface disinfection, following label rates and contact times.
- Occasional, carefully tested spot treatments
- If you must use H₂O₂ as a foliar, keep working solutions weak, test on a small section, and never spray under full lights.
- Document any concentration that causes burn, and lock it out of your SOP.
Your standard foliar toolkit for powdery mildew should focus on softer chemistry and biology that plants tolerate well.
Step 2: Make potassium bicarbonate your main “knockdown” foliar
Potassium bicarbonate (KHCO₃) is one of the most reliable non-oxidizing foliar options for powdery mildew in hydroponic systems. It works mainly by raising the pH of the leaf surface to a level that powdery mildew cannot tolerate.
Typical indoor farm practices, always cross-checked with the specific product label, look like this:
- Concentration: 0.5–1.0% w/v (5–10 g per liter of clean water)
- Adjuvant: a compatible non-ionic wetting agent at low rate to improve coverage
- Timing: first sign of infection or immediately after removing infected foliage
- Interval: every 5–10 days depending on pressure and crop tolerance
In a Kratky shelf or DWC table, some overspray is inevitable. KHCO₃ overspray will bump pH and add potassium if large amounts hit the solution. Build that into your SOP:
- Check pH after major spray events and correct back to your usual 5.5–6.2 range.
- Track potassium-heavy spray frequency, especially if your base nutrient is already high in K, to avoid antagonizing calcium and magnesium uptake.
Step 3: Use Bacillus-based biofungicides as your preventive backbone
Bacillus-based products (commonly Bacillus subtilis or Bacillus amyloliquefaciens) are ideal for indoor farms because they are gentle on leaves and play well with food crops. They colonize the phyllosphere and compete with pathogens while producing antifungal compounds.
A practical indoor SOP might include:
- Starting sprays early in veg or at transplant when leaves are still clean.
- Maintaining a consistent interval (for example, every 7 days) rather than waiting until mildew appears.
- Focusing coverage on lower and inner canopy zones where humidity is highest.
- Never tank-mixing Bacillus products with oxidizers, bicarbonates, or strong acids; keep them in separate treatments spaced several days apart.
Think of Bacillus as the “steady baseline” and potassium bicarbonate as the “emergency brake” when you see spores or small colonies.
Step 4: Time and dim sprays to avoid phototoxicity
Under strong LEDs, spray timing and light management matter as much as product choice if you want to avoid leaf burn. Build the following into your SOP:
- Spray timing:
- Spray near the end of the light period, then dim or switch off fixtures after coverage is complete.
- Alternatively, start 60–90 minutes before lights-on with fixtures dimmed, allowing leaves to dry before full intensity.
- Light dimming:
- Drop PPFD to roughly half your normal operating level during and for 1–2 hours after spraying.
- Ramp back up gradually instead of jumping straight from low to maximum intensity.
- Airflow and drying:
- Use gentle, uniform airflow so leaves dry evenly without thrashing sensitive new growth.
- Avoid cold drafts on wet leaves, which can cause localized stress.
If you see consistent leaf spotting after sprays even with soft products, your PPFD or drying time is probably too aggressive for the current crop and stage.
Step 5: Adjust environment so you are not chasing mildew with the spray bottle
Chemical and biological foliar tools work much better when you are not fighting the room. For powdery mildew under LEDs, focus on:
- Relative humidity (RH)
- Target roughly 45–55% RH in leafy greens and herbs unless the crop demands otherwise.
- Balance dehumidification with plant comfort; do not over-dry to the point of tip burn or stomatal closure.
- Airflow
- Use oscillating fans or HAF fans to eliminate dead spots around NFT channels, DWC lids, or Kratky jars.
- Aim for gentle movement of all leaves, not a hurricane.
- Canopy structure
- Thin and train to reduce leaf-on-leaf contact in the lower canopy.
- Stagger plant heights or varieties so air can move through the stand.
Every point drop in humidity and every bit of extra airflow reduces the number of foliar interventions you need.

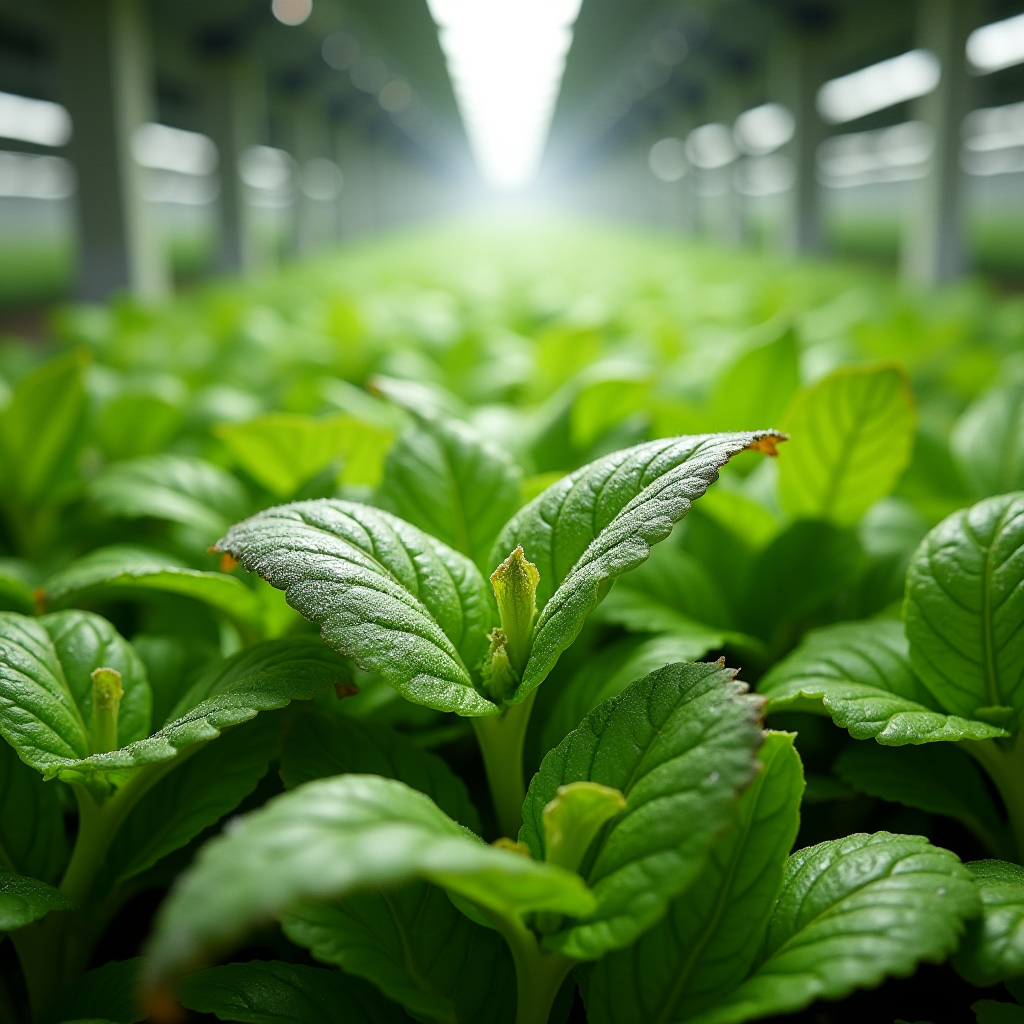
4. What to watch long-term: keeping mildew down without sacrificing yield
Benchmark 1: Leaf quality under your spray program
You are looking for a canopy that stays clean and photosynthetically efficient. Watch for these red flags after foliar treatments:
- Repeated tiny necrotic spots on new growth following specific products or spray timings
- Loss of sheen or “tired” appearance on leaves one to three days post spray
- Variety-specific damage (for example, basil suffering while kale is fine) that shows your rates are too close to the edge
If any of these show up, back off rate, change timing, or swap products before you hard-bake yield losses into your cycle.
Benchmark 2: Powdery mildew pressure over multiple cycles
One of the best indicators of a successful program is what happens across several crops, not just within a single rescue run.
- If mildew pressure drops cycle over cycle with the same cultivar and layout, your combination of sanitation, biology, and environment is working.
- If you are still seeing the same hotspots at the same plant heights or system positions, the issue is likely structural (airflow path, cold wall, shaded corner) more than chemical.
Use notes and photos to track where and when mildew first appears each run. This feeds straight back into fan placement, dehumidifier configuration, and density decisions.
Benchmark 3: Nutrient health and stress signals
Weak, nutrient-stressed plants are easier targets for powdery mildew. In Kratky tubs, DWC buckets, or NFT gutters, stay on top of solution management:
- Hold pH in the usual 5.5–6.2 window, correcting small drifts rather than big swings.
- Keep EC in crop-appropriate ranges and avoid big jumps when you top up or change solution.
- Sanitize between crops so biofilms and root debris are not carrying over stress and pathogens.
If your plants constantly show marginal chlorosis, twisted new growth, or stunted roots, you have a nutrient or root-zone issue to fix before you can judge any foliar program fairly.
Benchmark 4: Compliance, residues, and worker safety
As you refine your foliar SOP, keep the rest of the operation in view:
- Confirm that every product you spray is allowed for the crop and market you are serving.
- Respect re-entry times and ventilation requirements after sanitation fogging with PAA or other oxidizers.
- Document concentrations, intervals, and observed effects so staff can repeat what works and avoid what does not.
The goal is a stable, repeatable mildew program that does not rely on emergency peroxide blasts or heroic interventions from your most experienced staff member.
Putting it all together: a sample foliar SOP for an LED indoor farm
Here is a high-level example that you can adapt to your crops and regulations:
- Between crops
- Full clean-out of channels, reservoirs, and hardware.
- Circulate PAA or approved oxidizer in irrigation lines, then flush thoroughly.
- Fog empty room with PAA product according to label, then ventilate until safe.
- Early crop (clean leaves)
- Begin Bacillus-based biofungicide sprays at low rate, every 7 days.
- Spray at low light or with dimmed fixtures, with good airflow.
- First signs of powdery mildew
- Remove heavily infected leaves and dispose of them outside the grow.
- Apply potassium bicarbonate foliar at 0.5–1.0% as a knockdown, in a separate spray window from Bacillus.
- Temporarily tighten RH control and boost airflow through the affected zone.
- High pressure / rescue scenario
- If you must use H₂O₂, run small-scale tests first at low concentration, with lights dimmed, on non-critical plants.
- Use this only as a short-term bridge while you re-balance environment and density, not as a standard tool.
Over a few cycles, you should see peroxide use drop to nearly zero, with Bacillus, potassium bicarbonate, and tight environment control doing the heavy lifting.

As an Amazon Associate, I earn from qualifying purchases.